Backend Configuration
To get your Storefront Backend working with our Sales Widget, you will need to expose specific APIs and deploy some contracts. This guide will walk you through how to set that all up.
1. Set up your project in the Immutable Hub and create an environment
- Follow this guide on how to create a Project in Immutable Hub
2. Deploy the Primary Sales contract
Click on the Primary Sales option in Hub and then follow the steps to Deploy a Primary Sales contract
2.1 Connect wallet

2.2 Deploy contract
Fill the details in the form and click the button Deploy contract. Here's a breakdown of the fields in the form:
| Property | Description |
|---|---|
| Name | The name assigned to the Primary Sales contract when deployed on-chain, we suggest a mention to primary sales and the game name ie PrimarySalesGuildOfGuardians |
| Version | The version of the Primary Sales contract, we suggest assigning a consecutive number starting from 1 |
| Linked collection | Choose the ERC721 or ERC1155 collection that will be linked to the Primary Sales contract, this is the collection that will be minted when a sale is made. |
| ERC20 tokens | Choose all the ERC20 tokens that will be accepted as payment when a sale is made. |
Once you click the button Deploy contract, a modal will open, make sure you don't close this modal as it will show the progress of the deployment. The modal will automatically close once the process completes.
2.3 Approve transactions
To be able to deploy the contract, you will need to approve the transactions in your wallet.
Once the modal closes, a success message will appear on top.
3. Configure the Primary Sales widget
Let's review all configuration fields required to configure the Primary Sales widget:
| Property | Description |
|---|---|
| Primary Sales Contract Address | The address where the Primary Sales contract was deployed (Step 2) |
| Primary Sales Contract Name | The name of the Primary Sales contract deployed (Step 2) |
| Primary Sales Contract Version | The version of the Primary Sales contract deployed (Step 2) |
| Expiry | Number of seconds configured for the orders to expire, signed orders need to be executed on-chain before this expiry. This value should encompass the time it takes for a user to review an order until it’s executed in the chain. |
| Mint type | The type of mint method used to deliver the NFTs to the final user, the available methods are: - safeMint: Standard method used to mint a single NFT but incorporates a validation to only allow the minting to happen if the recipient is prepared to receive an NFT. - safeMintBatch: Gas optimised method to mint multiple NFTs to a recipient, it also incorporates a validation to only allow the minting to happen if the recipient is prepared to receive an NFT. |
| Contract ID | The Contract ID given by Immutable, this is used by Transak to know which game is using their widget, if you are not using Transak, set value to None. |
| Payouts | The list of wallets that will receive the revenue of the Primary Sale, if you only need one, add one value to the list with a percentage of 100, values needed are: - The wallet address that will receive the payout percentage - The percentage as an integer |
| Sale Mode | If the sale is configured as Simplified or Advanced. |
| Currencies | List of ERC20 currencies supported by the partner game to receive payouts. The information needed to configure a currency is: - The contact address of the ERC20 contract - The number of decimals - The Symbol - Default currency (true if this is the default currency, false otherwise) - Exchange ID (how the currency appears in coingecko, this is used to fetch conversion rates) |
3.1 More on supported Currencies
It is required to set one or more currencies in order to receive payouts.
Wallets with insufficient funds in the default currency will be prompted to swap their tokens.
Setting up a configuration with two currencies in testnet would look like this:
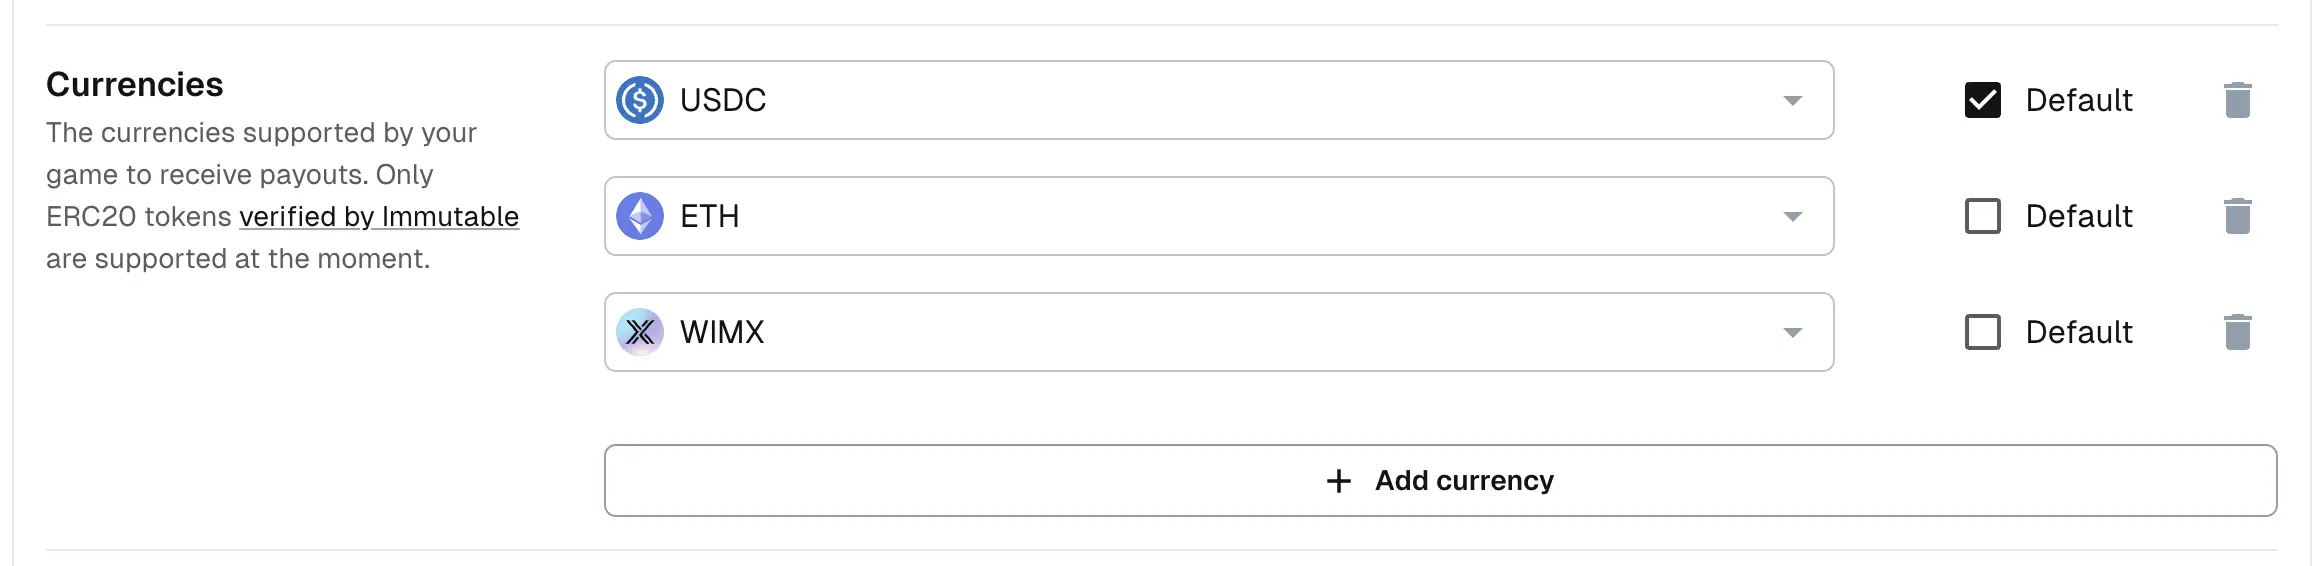
Wallets with insufficient USDC or ETH, will be prompted to swap their tokens to USDC (if their tokens have liquidity pairs with USDC on QuickSwap).
3.2 Sale mode (Simplified or Advanced)
The sale mode can be configured to either Simplified or Advanced.
Simplified:
- The user can create products directly in Hub to be sold using the Primary Sales widget. Follow the products guide for more information.
- There is no need to implement any webhooks. The widget will handle the sale process and the stock management with the information provided in the product creation form.
- The products created in Hub will be linked to a ERC721 or ERC1155 collection previously configured in Hub.
- For ERC1155, The token ID of the product will be entered in the product creation form.
- For ERC721, the system will automatically generate a random token ID for the product during the sale process.
- Any products created in Hub will be exposed in a public endpoint that your storefront can use to display them.
- Testnet: https://api.sandbox.immutable.com/v1/primary-sales/:environmentId/products
- Mainnet: https://api.immutable.com/v1/primary-sales/:environmentId/products
The Environment ID is the identifier of the environment in Hub, can be found under the Settings menu after selecting your project and environment.
Advanced:
- The user needs to implement the webhooks to handle the sale process and the stock management outside of Hub.
- The user can implement any custom logic in the webhooks, for example, they can implement a price discount logic or control how many items can be minted per wallet.
3.3 Webhook configuration (Advanced mode only)
If you have selected the Advanced sale mode, you will be asked to configure the webhook information, which is used to connect the Primary Sales widget with your stock management system. Refer to the Primary Sales webhook guide on how to implement these webhooks.
The table below details provides a breakdown of the fields required for the webhook section:
| Property | Description |
|---|---|
| Quote URL Quote API Key | The URL and API key used to get a quote for draft orders. These can be part of your own stock management system or WooCommerce depending on what was configured in the previous step. |
| Sale authorization URL Authorization API Key | The URL and API key used to authorize the sales. These can be part of your own stock management system or WooCommerce depending on what was configured in the previous step. |
| Sale confirmation URL Confirmation API Key | The URL and API key used to confirm the orders once executed on-chain. These can be part of your own stock management system or WooCommerce depending on what was configured in the previous step. |
| Sale expiration URL Expiration API Key | The URL and API key used to inform about expired orders. These can be part of your own stock management system or WooCommerce depending on what was configured in the previous step. |
When all the fields are filled, click on the "Save Changes" button to save the configuration.
4. Adjustments to configuration
If you need to update any of the configuration fields, you can come back by clicking in the Configuration tab next to Overview.