Implement primary sale card checkout feature
This is a feature intended for managed partners. If you are not a managed partner and would like to become one, please reach out to us on our #dev-discussion channel on Discord.
If you are a managed partner, your partner success manager needs to set up a commercial partnership with MoonPay for you. Please reach out to them to facilitate this.
- Must be a managed partner and your partner success manager has set up a commercial partnership with MoonPay for you
- Have a deployed L1 smart contract from which tokens can be minted
- Launched a collection on Immutable
- Set up the required endpoints
How to implement this feature
Typescript SDK
The full list of endpoints required are also listed here.
1. Initialize and Install Typescript SDK
Check out how to initialize it.
2. Create the NFT checkout transaction
import { x, config } from "@imtbl/sdk";
const imxClient = new x.IMXClient(x.imxClientConfig({ environment: config.Environment.SANDBOX }));

const nftPrimaryTxnParams: x.NftCheckoutPrimaryApiCreateNftPrimaryRequest = {
  createAPIRequest: {
    contract_address: '0x5d...',
    provider: 'moonpay',
    offer_id: '20111212',
    user_wallet_address: '0xqw2...',
    widget: { theme: 'dark' },
  },
};

const nftPrimaryTxnResponse = await imxClient.createNftPrimary(
  nftPrimaryTxnParams
);
Where:
user_wallet_address- L2 wallet address of seller, funds will be sent to this addresscontract_address- smart contract address of the NFToffer_id- identifier that represents what will be mintedwidget.theme- MoonPay widget theme
In the cases where purchasers know what they're purchasing (such as a specific item in a PFP project) offerId could be the token ID (i.e. 20111212) and in other cases where they don't know what they're purchasing (such as a loot box) it could be something like silver-chest. This is simply a way to render an item in the cart, and doesn't need to tie to the actual NFT asset directly.
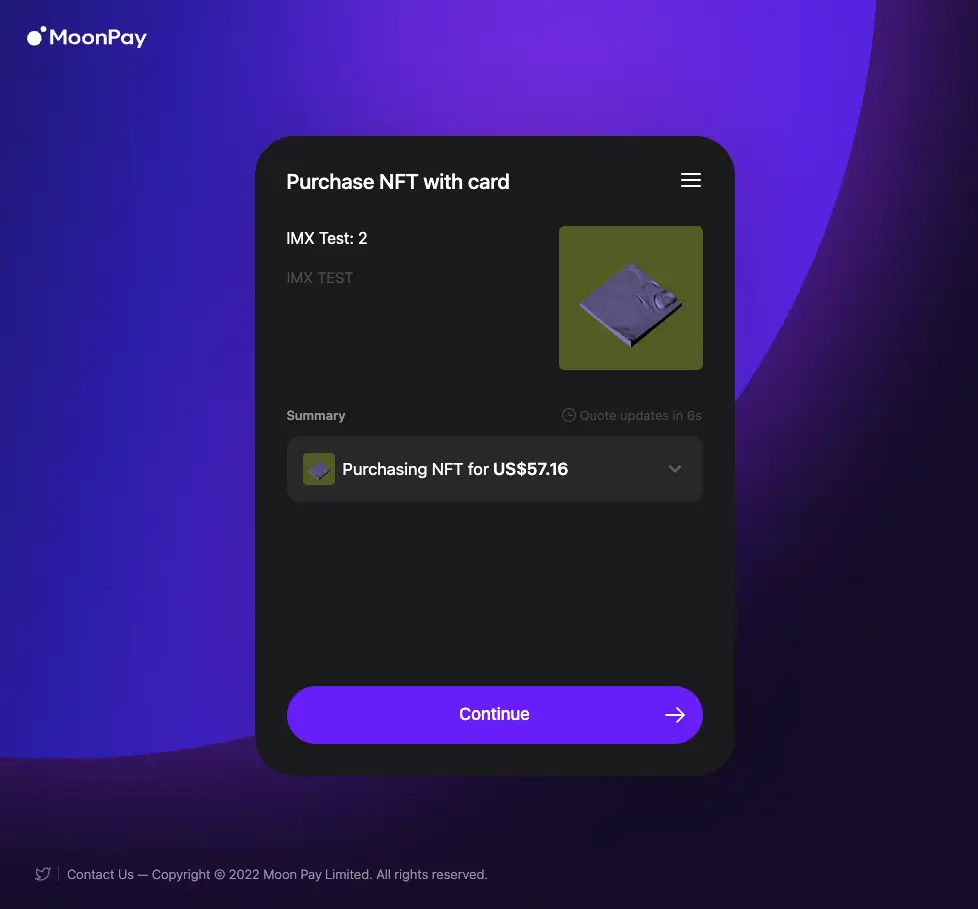
Note that primary sales involve taking a payment before the mint occurs. Because the asset does not exist yet, we've included an offerId instead of an asset ID. Therefore, in order to successfully render the checkout with the information seen below (offer, title and image), you will need to be a managed partner with Immutable (please reach out to us on our #dev-discussion channel on Discord to request to become one).
After creating a transaction successfully, you will be provided with a MoonPay widget URL to be rendered for checkout where the user can proceed with payment.
This displays the UI with the loaded MoonPay widget:

3. Check the transaction status (optional)
You can check the transaction status using the transaction ID from previous step. The status value should be created to confirm successful transaction creation.
const getNftPrimaryTransactionResponse =
  await imxClient.getNftPrimaryTransaction({
    transactionId: nftPrimaryTxnResponse.transaction_id
  });
4. Minting is triggered once a successful payment has been received
After the payment has been received by MoonPay, the mint process will be automatically triggered (via the endpoint that you created here).

5. Verify the transaction status
Check the transaction status in a polling fashion in the background using the same method from Step 3 above.
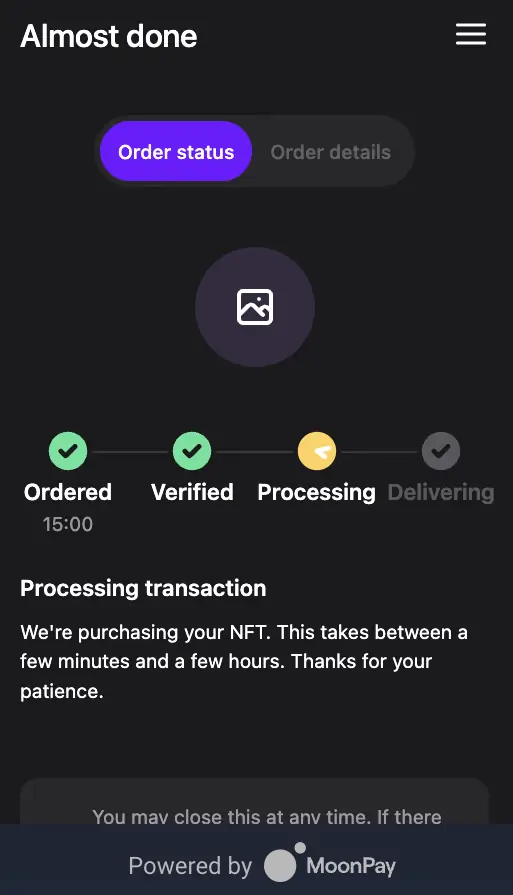
The transfer process can take few minutes and during that time transaction can return a pending or waitingPayment status while it's still being processed.
The final stage of transaction status can be:
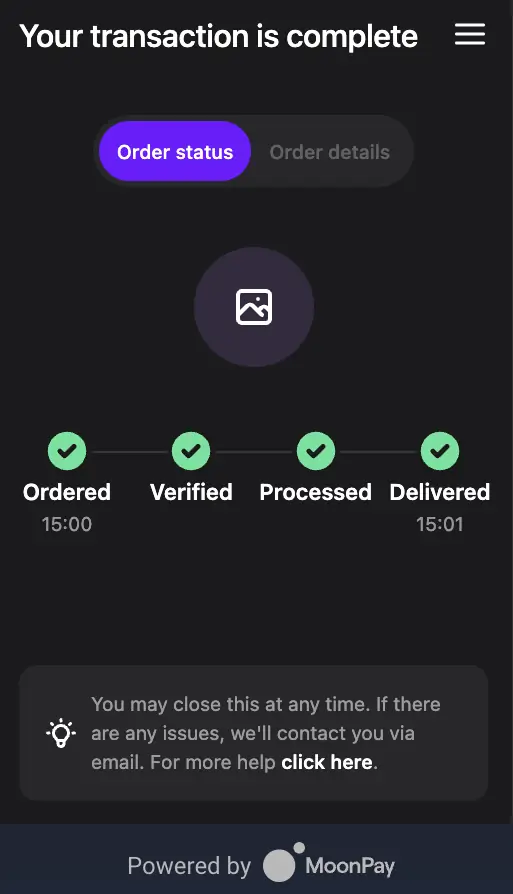
completed- successful completionfailed- failure encountered
Upon reaching final stage of the transaction status, you can show an appropriate message, send a notification or update any state with the successful/failed transaction.

API
| Step | Description | API endpoint |
|---|---|---|
| 1 | Create the checkout transaction | createNftPrimary |
| 2 | Check or verify the transaction status | getNftPrimaryTransaction |